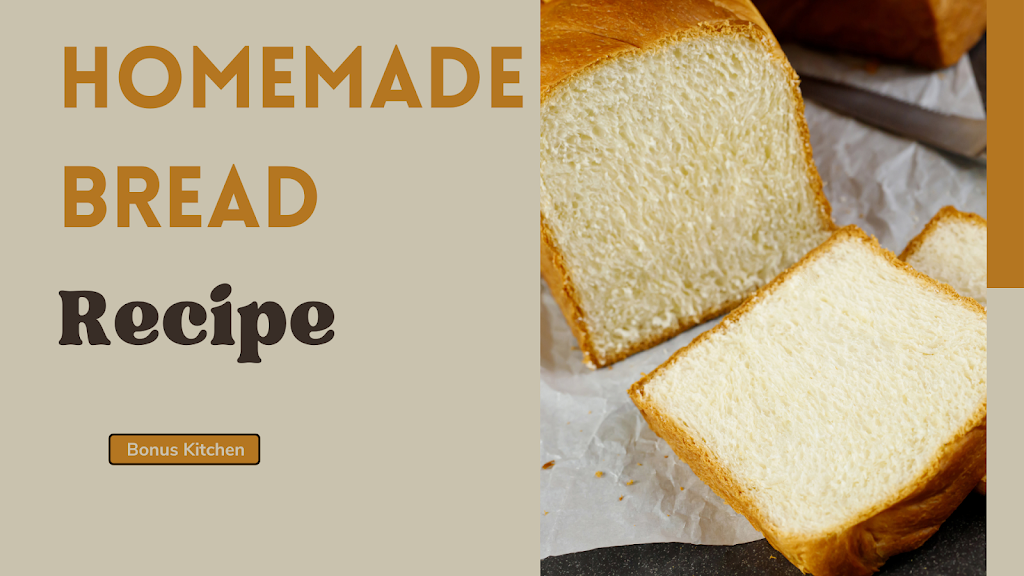
Homemade Bread Recipe: Fresh And Delightfully Simple | Bonus Kitchen
Nothing beats the aroma and flavour of freshly made bread flooding your house. We’ll walk you through the process of making a warm, golden loaf from scratch in this cheerful and straightforward homemade bread recipe. Baking your own bread is a pleasant activity that brings warmth and comfort to your home. It’s also a great chance to amaze your loved ones with your baking abilities! So, roll up your sleeves, throw on your apron, and let’s learn how to make bread!
Ingredients and Equipment required –
Before we begin, let’s gather the necessary ingredients and equipment:
Ingredients:
- 4 cups all-purpose flour (or bread flour for a chewier texture)
- 2 teaspoons active dry yeast
- 2 teaspoons salt
- 1 ¾ cups hot water (around 43°C)
- 1 tablespoon honey (or sugar as an alternative)
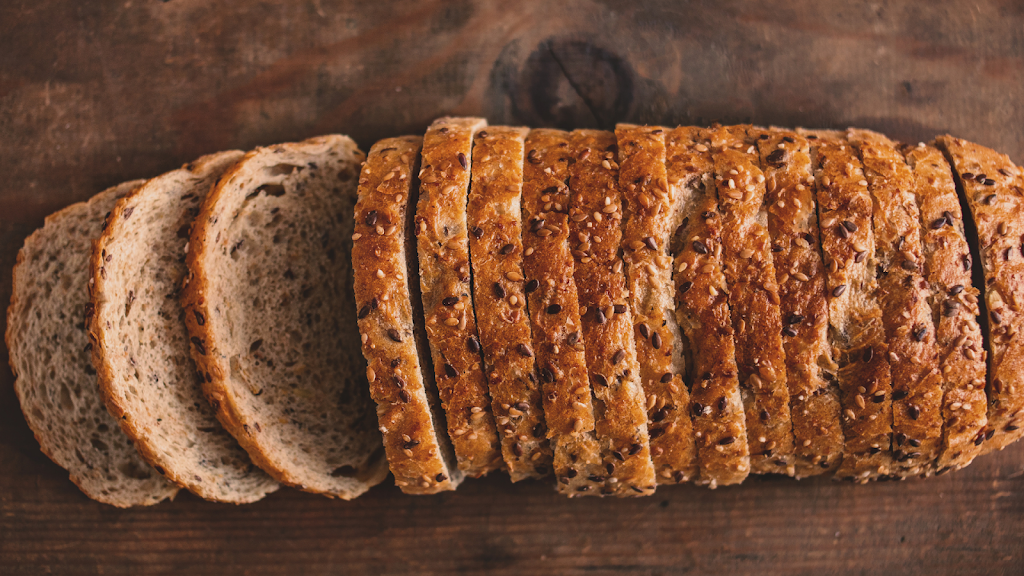
- Optional toppings: sesame seeds, poppy seeds, or oats for garnishing
Equipment:
- Large mixing bowl
- Measuring cups and spoons
- Wooden spoon or spatula
- Kitchen towel or plastic wrap
- Baking sheet or loaf pan
- Cooling rack
Here’s the Step by Step Preparation –
- Activate the Yeast –
- Warm water and honey (or sugar) should be combined in a small bowl. Stir until the sweetener is completely dissolved.
- Sprinkle the yeast over the water mixture and let aside for 5 minutes, or until it foams and activates. This means the yeast is active and ready to leaven the bread.
2. Mixing the Dough –
- In a large mixing bowl, combine the flour and salt. Create a well in the center.
- Pour the activated yeast mixture into the well.
- Gradually incorporate the flour into the liquid using a wooden spoon or spatula. Continue mixing until a sticky dough forms.
3. Kneading the Dough –
- Flour a clean work surface or a big chopping board lightly.
- Place the dough on a floured surface and begin kneading it. Fold the dough over itself, push it aside with your heel, and turn it a quarter turn.
- Knead the dough for another 10-15 minutes, or until it is smooth, elastic, and no longer sticky. If required, add extra flour sparingly.
4. First Rise (Proofing) –
- Grease the large mixing bowl with a thin layer of oil.
- Place the kneaded dough back into the bowl, turning it to coat all sides with the oil.
- Cover the bowl with a kitchen towel or plastic wrap and let it rise in a warm, draft-free area for about 1 to 1 ½ hours until the dough doubles in size.
5. Second Rise and Shaping –
- Once the dough has risen, punch it down gently to release the air.
- Shape the dough into a loaf or other shape on a lightly floured board.
- Place the formed dough on a sprayed baking sheet or in a loaf pan.
- Allow it to rise again for about 30-45 minutes, covered with a kitchen towel or plastic wrap.
6. Baking Preparation –
- Preheat the oven to 425°F (220°C) with the rack in the middle.
- Brush the bread with water and sprinkle with sesame seeds, poppy seeds, or oats for a decorative touch if desired.
7. Baking the Bread –
- Place the preheated oven on top of the risen dough.
- Bake for 25-30 minutes, or until golden brown and the bread sounds hollow when tapped on the bottom.
- The baking time may take somewhat longer if using a loaf pan.
- When the bread is done, carefully move it to a cooling rack to cool entirely before slicing.
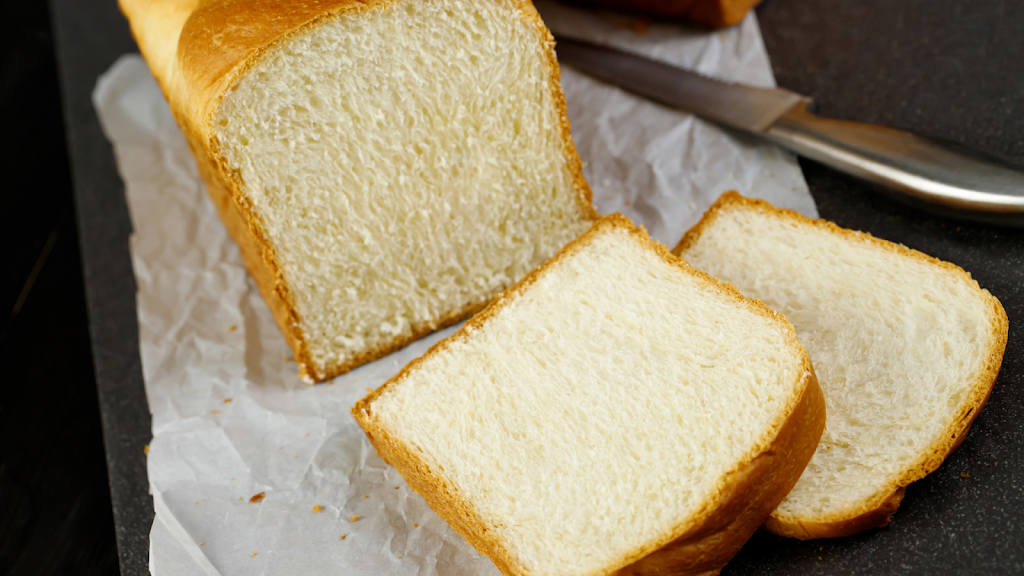
Finally! You’ve created your own delicious loaf of homemade bread. Each bite will be a beautiful experience thanks to the crisp, golden exterior and delicate, fluffy interior. It’s now time to enjoy the fruits of your labour. Slice the bread, top with creamy butter or your favourite spread, and enjoy the warm, handcrafted sweetness. Share it with friends and family, toast it for breakfast, or use it as the base for your favourite sandwiches. Take pleasure in the pride and satisfaction that comes from making something great from scratch. Good luck with your baking!
Remember to keep your handmade bread fresh by storing it in a ventilated bag or covered in a clean kitchen towel.
Now, at last we want to give a few tips on how to store your bread –
Once your handmade bread has completely cooled, it is critical to store it properly in order to keep it fresh and delicious for as long as possible. Follow these basic guidelines to keep your bread moist and flavorful:
- Allow the bread to cool completely on a wire rack before storing it. This keeps condensation from accumulating within the storage container, which can cause the bread to become soggy.
- Select the Proper Storage Container: Select a breathable storage option that will protect the bread while still allowing for some airflow. A ventilated fabric bag or a bread box with ventilation holes are both good options. Airtight containers should be avoided because they can trap moisture and result in a softer crust.
- Refrigeration should be avoided because it hastens the staling process. Refrigerated bread tends to dry out faster and lose its ideal texture. Bread should be stored at room temperature.
- Wrap the bread with a clean kitchen towel or parchment paper if you don’t have a bread box or breathable storage container. This will keep the bread moist while also allowing it to breathe.
- Avoid Direct Sunlight: Keep your bread cool and dry, away from direct sunlight. Heat and sunlight can hasten the staling process and impact the taste and texture of the bread.
- If you won’t be using the bread within a few days, consider freezing it. Wrap individual slices of bread in plastic wrap or place the entire loaf in a freezer bag. Thaw the slices or loaves at room temperature or in the toaster as needed.
For best taste we should consume the bread within few days but by following these storage guidelines we could extend the shelf life of the bread.