
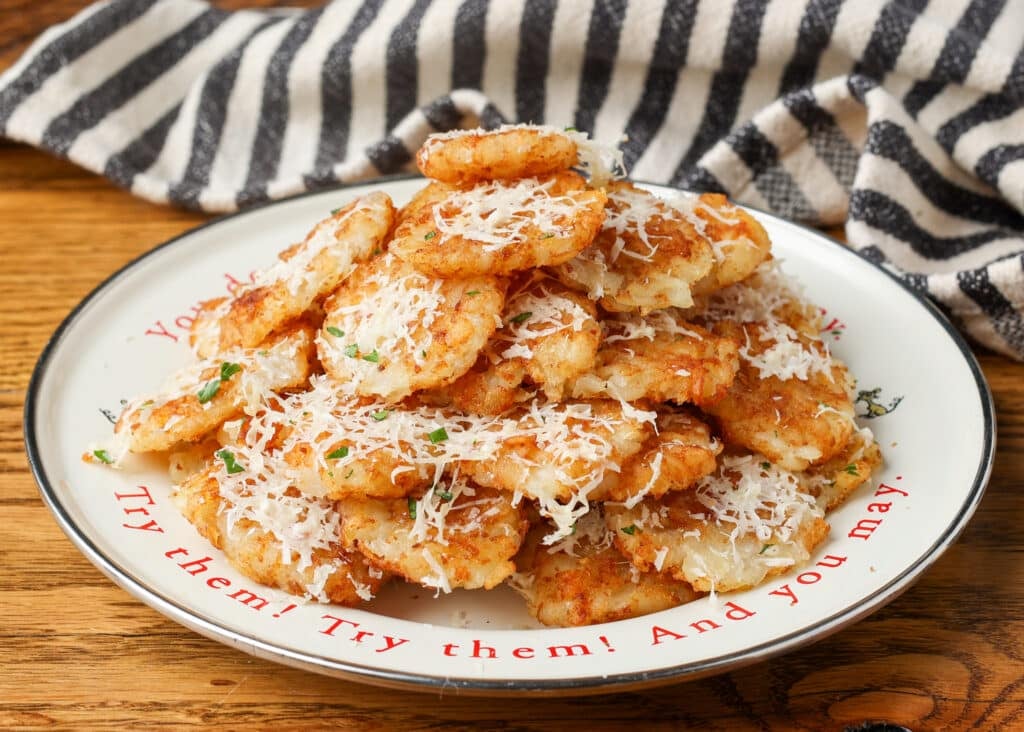
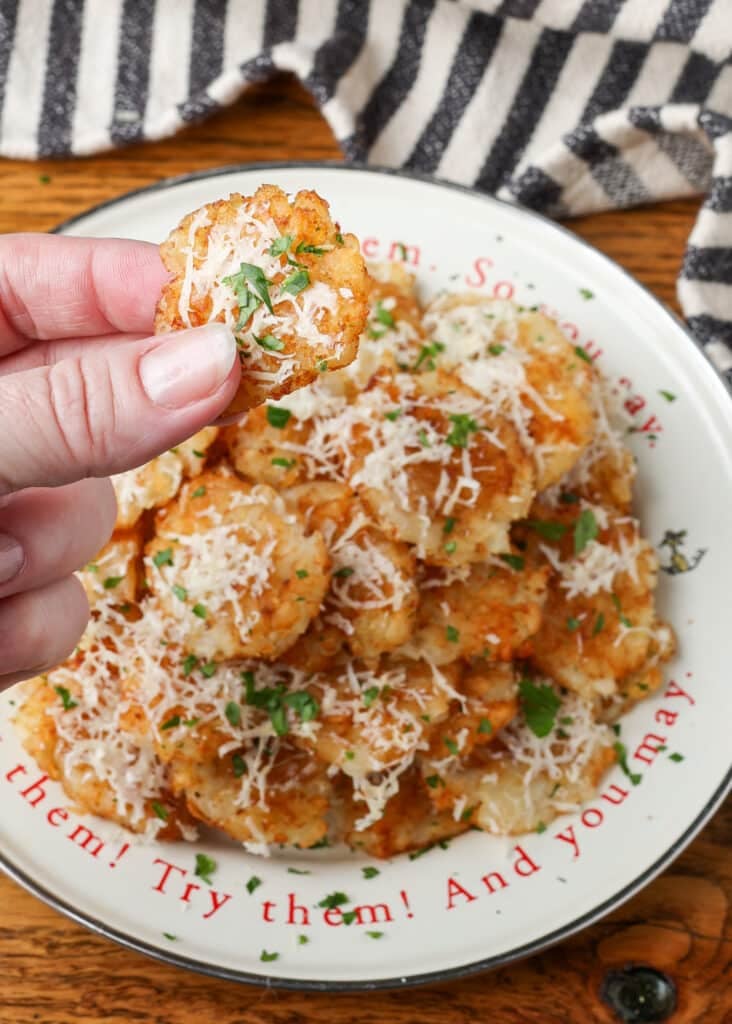
If eating hot, crispy tater tots makes you grin, then try these irresistible smash tater tots. Whenever I make these, the whole family stands around and removes them from the pot.
Who doesn’t love cheese and potatoes? I’ve been making snacks, main dishes, and side dishes around this combination since the “1900s.” My sons happily remind me of this with a laugh. This recipe was inspired by our favorite Cheesy Bacon Tater Tots, and our Smashed Potatoes with Parmesan is also very similar. However, please be careful. These kids are great for snacking. It won’t last long!
And the best part? There are only 4 ingredients. Tots, cooking spray, cheese, and parsley. that’s it. Preparation takes less than 5 minutes. Then it’s only a matter of time!
smash tater tots

Friends, I have to admit that I love tater tots. Whether as a side dish, main course, or snack on the go, potatoes are simple, satisfying, and endlessly versatile. And you already know how much we love potatoes in this region. Tots have become one of my favorite options for making a big last-minute dinner or trying out a new dipping sauce I’m trying out.
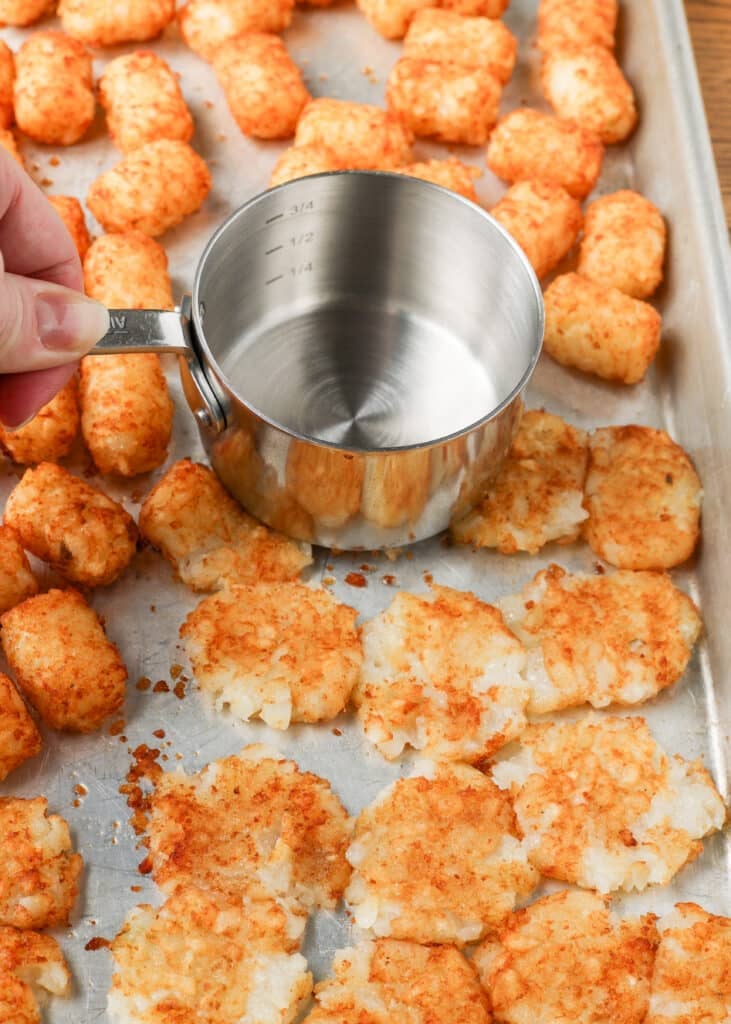
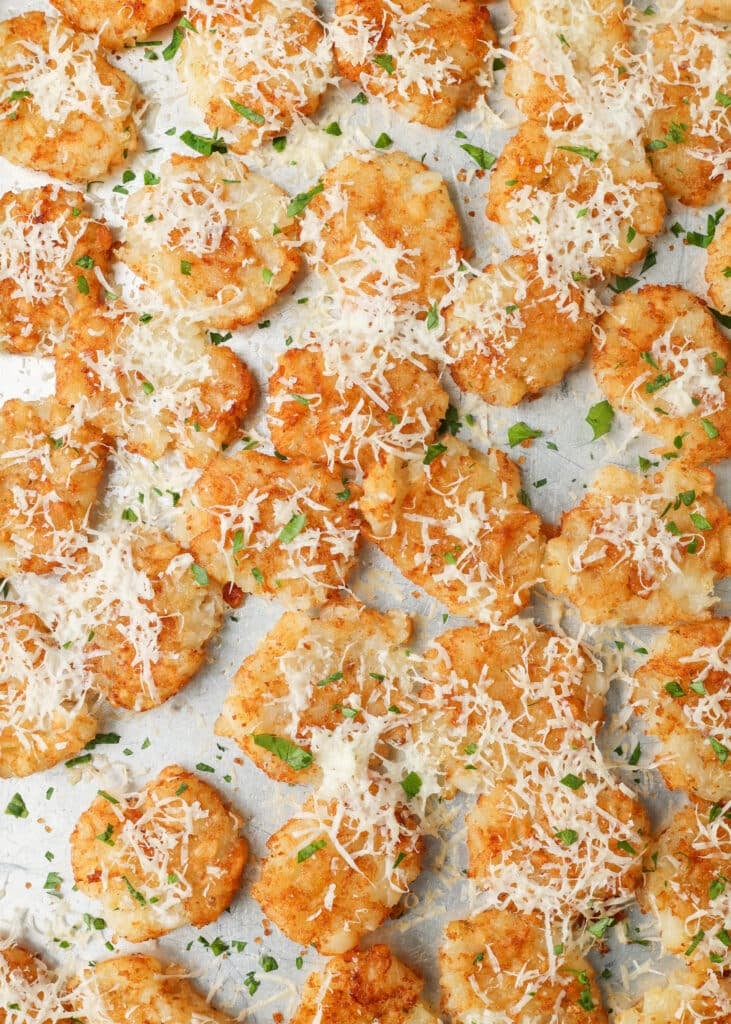
But smash is a movement! Bake the tots first until they’re warm and soft inside, then press each one flat with the bottom of a measuring cup. Returning it to the hot oven gives it a really nice and crispy texture. And since it starts from frozen, this smashed tater tots recipe is completely hassle-free.
Ingredients and Substitutes
Tater Tots – The important thing here is that they are frozen, not thawed. I’m not brand loyal to my kids. We almost always shop at Kroger.
Cheese – I prefer freshly shredded Parmesan because of its sharp flavor. You can use pre-grated ones in an emergency, but freshly grated ones are easier to dissolve and taste better (this is one case where you can see this).
Parsley – You’ll love the fresh pop of color and vibrancy that chopped Italian parsley adds to the finish. But you can stop if you don’t like it. I don’t judge.
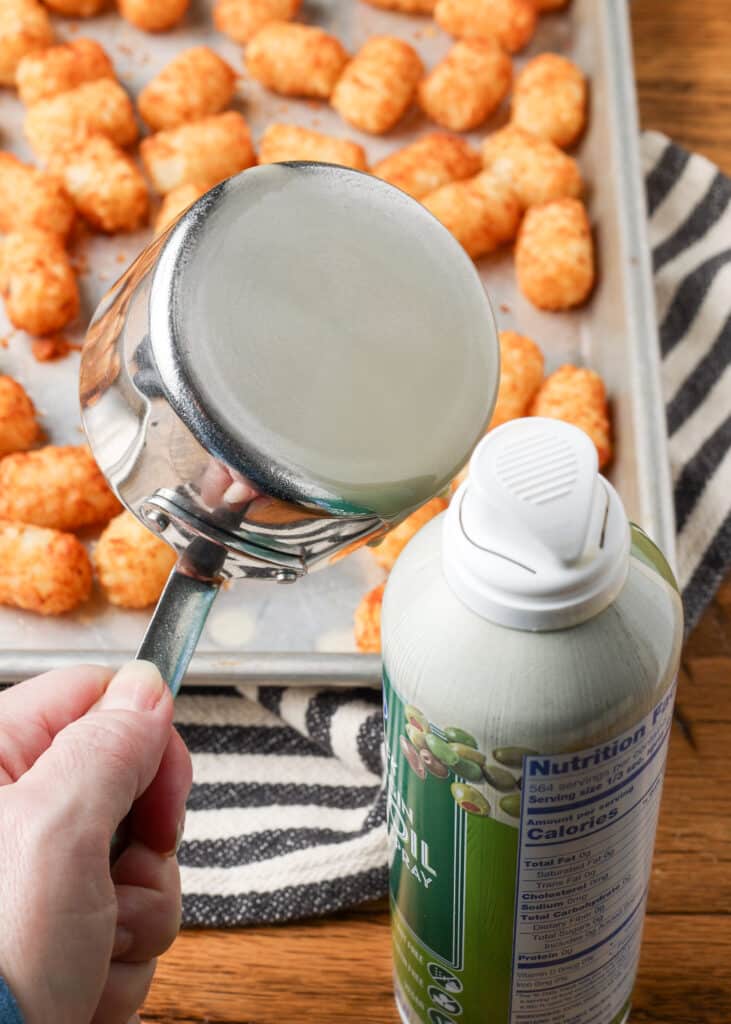
Cooking Spray – I use Olive Oil Pam Spray because it’s convenient. However, you can also sprinkle the oil around like a drizzle. Or use a hand-held oil sprayer like this one (I have one, but it’s not 100% sold. When it sprays out a mist of oil like in the picture, it’s great! But it can also actually work like a water gun).
Notes on equipment
Rimmed Baking Sheets – I have been using Nordic Ware baking sheets for over 20 years and they are still going strong. It’s durable, yet lightweight, and reasonably priced. Heavy Measuring Cup (for pressing) Olive Oil Cooking Spray Spatula (for flipping) – I have had an OXO flexible nylon turner next to my stove for over 10 years. Very useful for tasks such as rotating these toys.
How to make smash tater tots
Preheat oven: Turn oven to 400°F. While the oven is heating up, I usually grate the parmesan and chop the parsley so I have everything ready when I need it.
Arrange the babies: Lightly coat a rimmed baking sheet with cooking spray. Next, spread the tater tots in a single, even layer across the pan, leaving gaps between them. Please don’t touch it. It needs space for airflow so that the edges are crispy.
Bake first: Slide the pan into the oven and bake for 20 minutes. I haven’t asked for crispy yet. I just want it to be cooked enough to press.
Increase temperature: Pull out pan and increase oven to 450°F.
Smashing: Here’s the fun part. Spray the bottom of a heavy measuring cup with oil to prevent it from sticking, and gently press the measuring cup flat against the pot. You want to compress it and keep it firm enough to flip over later. I’m not crushing this potato.
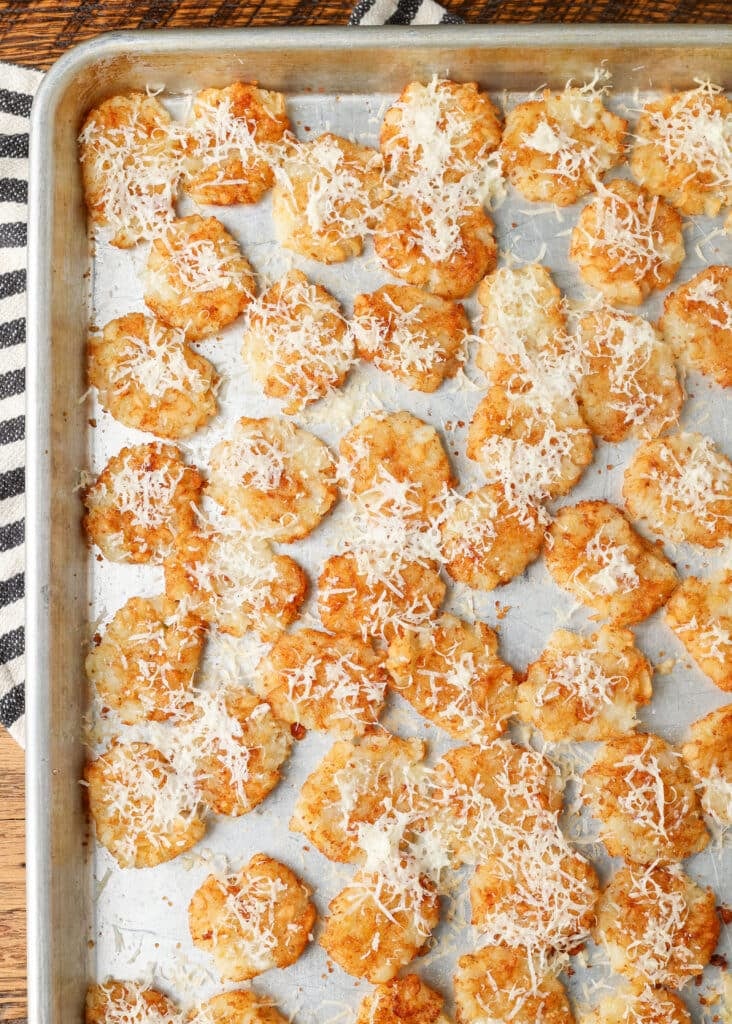
Second bake: Return the crumbles to the oven and bake for another 10-15 minutes until golden brown and crispy on the edges.
Flip and cheese: Pull out the bread again. Each tot must be turned over. Then sprinkle with grated Parmesan cheese.
Final Bake: Return to oven for another 5 minutes until cheese is melted.
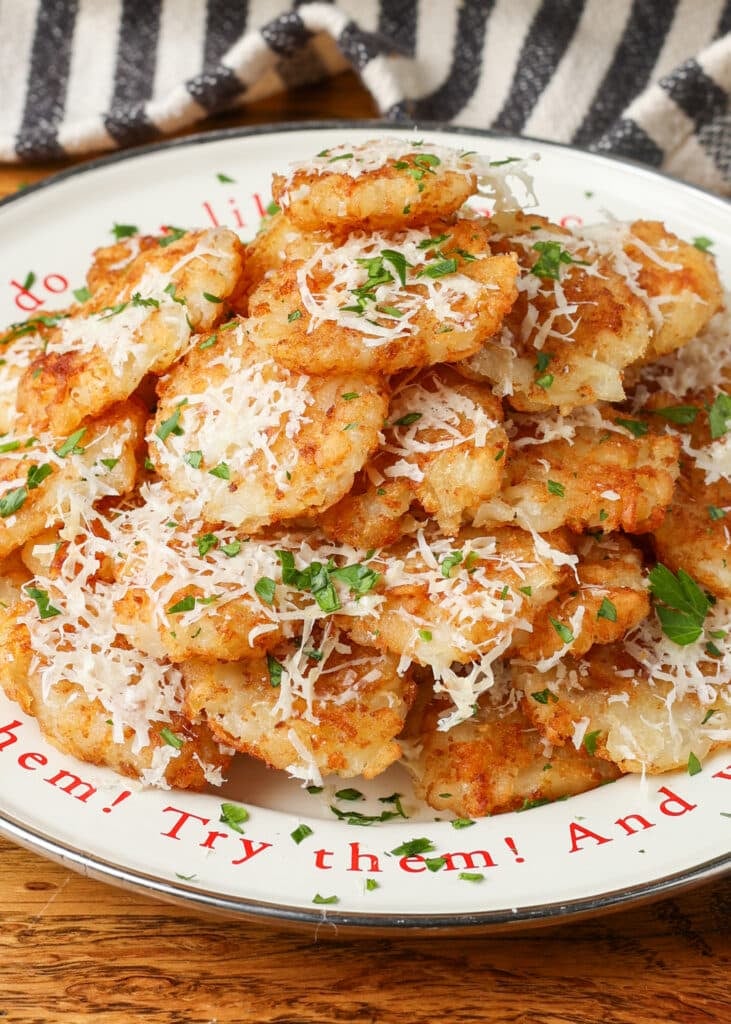
To serve: Cool for a minute or two (it will be hot), sprinkle with parsley, and serve with your favorite dipping sauce.
expert tips
Perhaps the most important thing you can do to make each tater tot crispy and satisfying is to leave plenty of space between the tots as you bake them. Spread them in a single, even layer across the pan, making sure not to let too many of them touch each other. This will allow the edges to crisp up evenly in the oven. Stuffing the bread traps steam, which is your enemy as it can burn the surface and make the edges crispy.
Always start frozen – don’t thaw tater tots before baking. It is very important to add it to the pot while frozen. Thawing will change the cooking time, and the resulting texture and temperature may become unstable.
Use fresh toppings – What makes this frozen tots recipe so great is the fresh pop of contrast. Crispy tots with fresh cheese and herbs. All they need now is a dip. Don’t worry. We’ve covered that (keep reading).
Grease the cup – Spray the bottom of the press tool with cooking spray before breaking it. This will prevent your baby from sticking or tearing.
offer suggestions
This smashed tater tots recipe was literally developed with dips in mind. And heaven knows I have many choices. Black ranch dressing is one of our favorites.
But my avocado cream sauce and Cajun dipping sauce are both great options that regularly appear on our table. For a full-fledged snack, arrange the crumbled tots all over the tray with the dip and leave it to the staff.
Storage and reheating
To store: Store leftover crushed tater tots in a single layer in an airtight container in the refrigerator for up to 2 days. When layered, it becomes softer and has a moist finish.
To reheat: Spread on a baking sheet and reheat at 425°F for 5 to 8 minutes. It won’t be as crispy as the first time, but the crispiness will return when you bake it in the oven. You can also use an air fryer for small quantities.
See more tater tot recipes
Brush the bread with oil before baking. Also, be sure to spray the bottom of the measuring cup before pressing it. Flip the tots before adding the cheese to make them easier to remove from the pan.
Pressing the toddler flat compresses the crispy potato layers. More surface area means more crunch when baked in the oven. It’s the difference between a regular tater tot and something you can’t help but reach for.
Flat enough for the tots to be compacted on the pan, but firm enough to flip without falling apart. We’re not trying to make potato paper. It is a hard, flat disk.
I haven’t tested it, but it should work. It must be baked, pressed, and air fried at high temperatures. If you’re making a large batch, it’s easier to use the oven.
Preheat oven to 400°F. Lightly coat a baking sheet with cooking spray. Spread tater tots in a greased skillet. Bake for 20 minutes.
Remove the tots from the oven. Increase temperature to 450°F. Spray the bottom of a heavy measuring cup with oil and gently press the measuring cup to flatten it. Return to oven and bake for another 10-15 minutes until starting to crisp.
Remove from the oven, flip each one over and top with Parmesan if desired. Bake for another 5 minutes. Sprinkle with parsley and serve with your favorite dipping sauce.
calorie: 184 kcal | carbohydrates: twenty two g | protein: 4 g | fat: 9 g | Saturated fat: 2 g | Polyunsaturated fats: 3 g | Monounsaturated fats: 3 g | cholesterol: 4 mg | sodium: 484 mg | potassium: 232 mg | fiber: 2 g | sugar: 0.3 g | Vitamin A: 136 IU | Vitamin C: 7 mg | calcium: 87 mg | iron: 1 mg
Nutritional information is automatically calculated and should only be used as a rough guide.