


easy pavlova
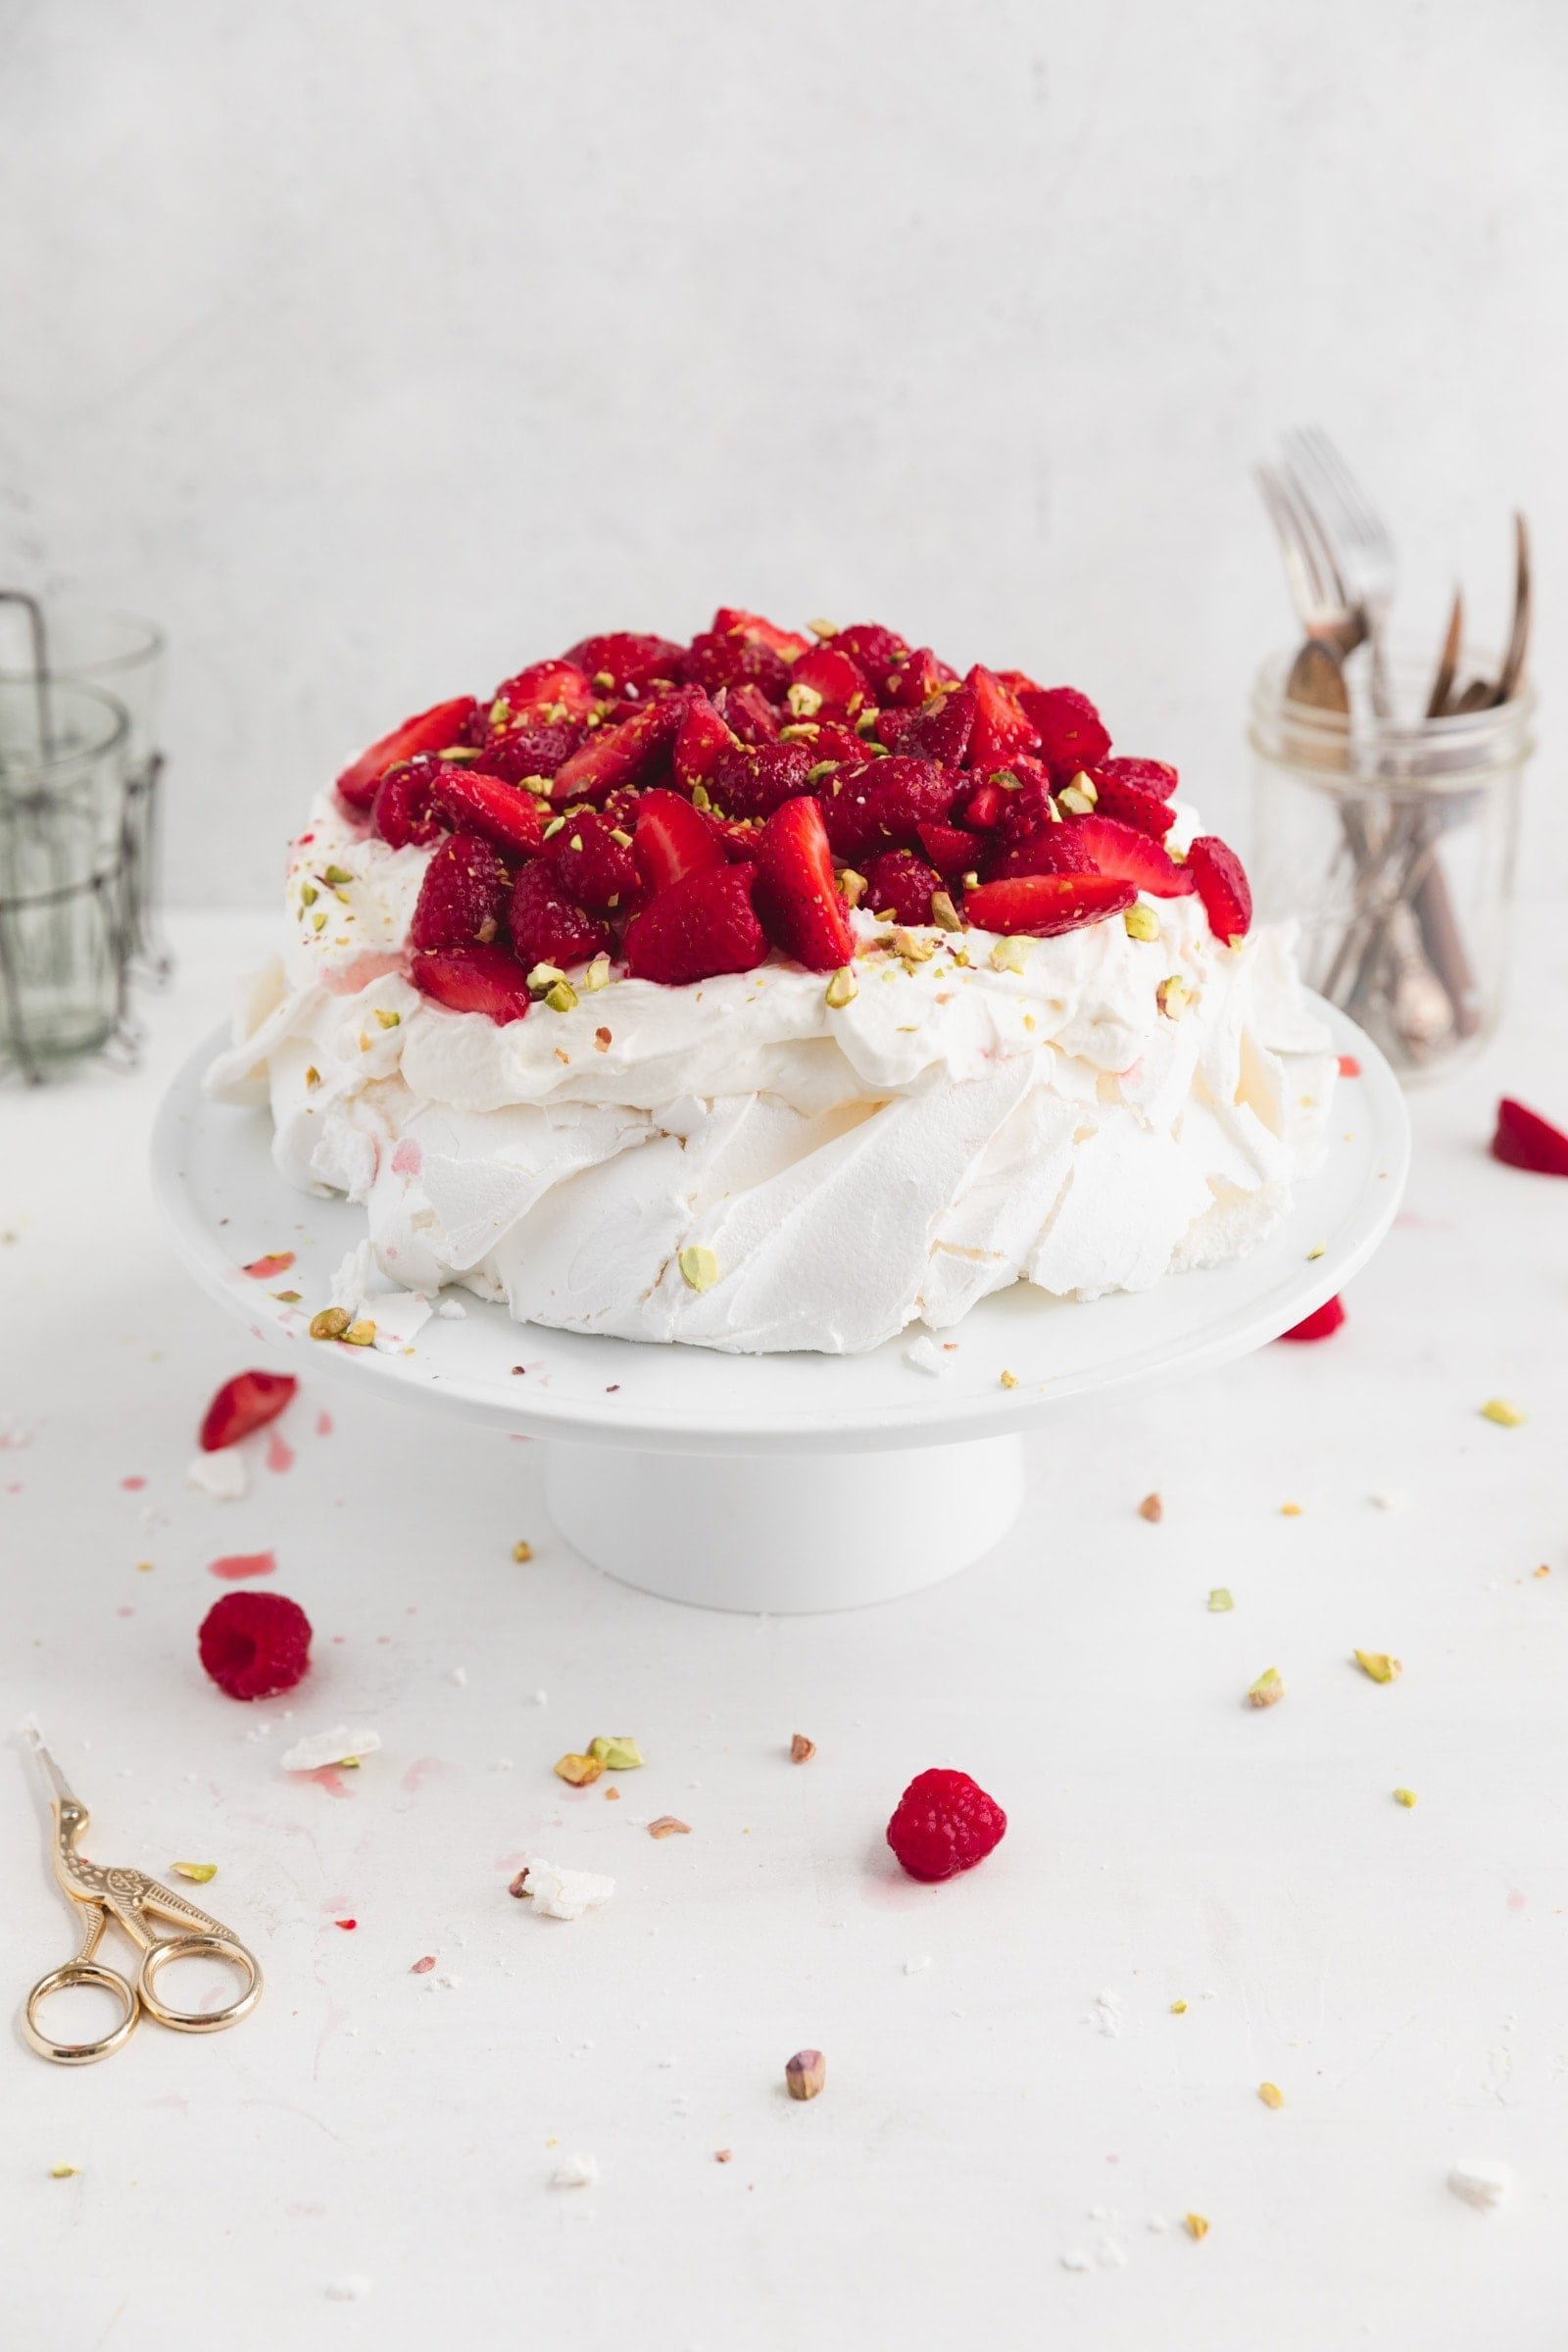
This easy pavlova recipe is crunchy on the outside and melts in your mouth with a marshmallow center. Top your pavlova with fresh fruit and whipped cream for the ultimate summer treat.
pavlova
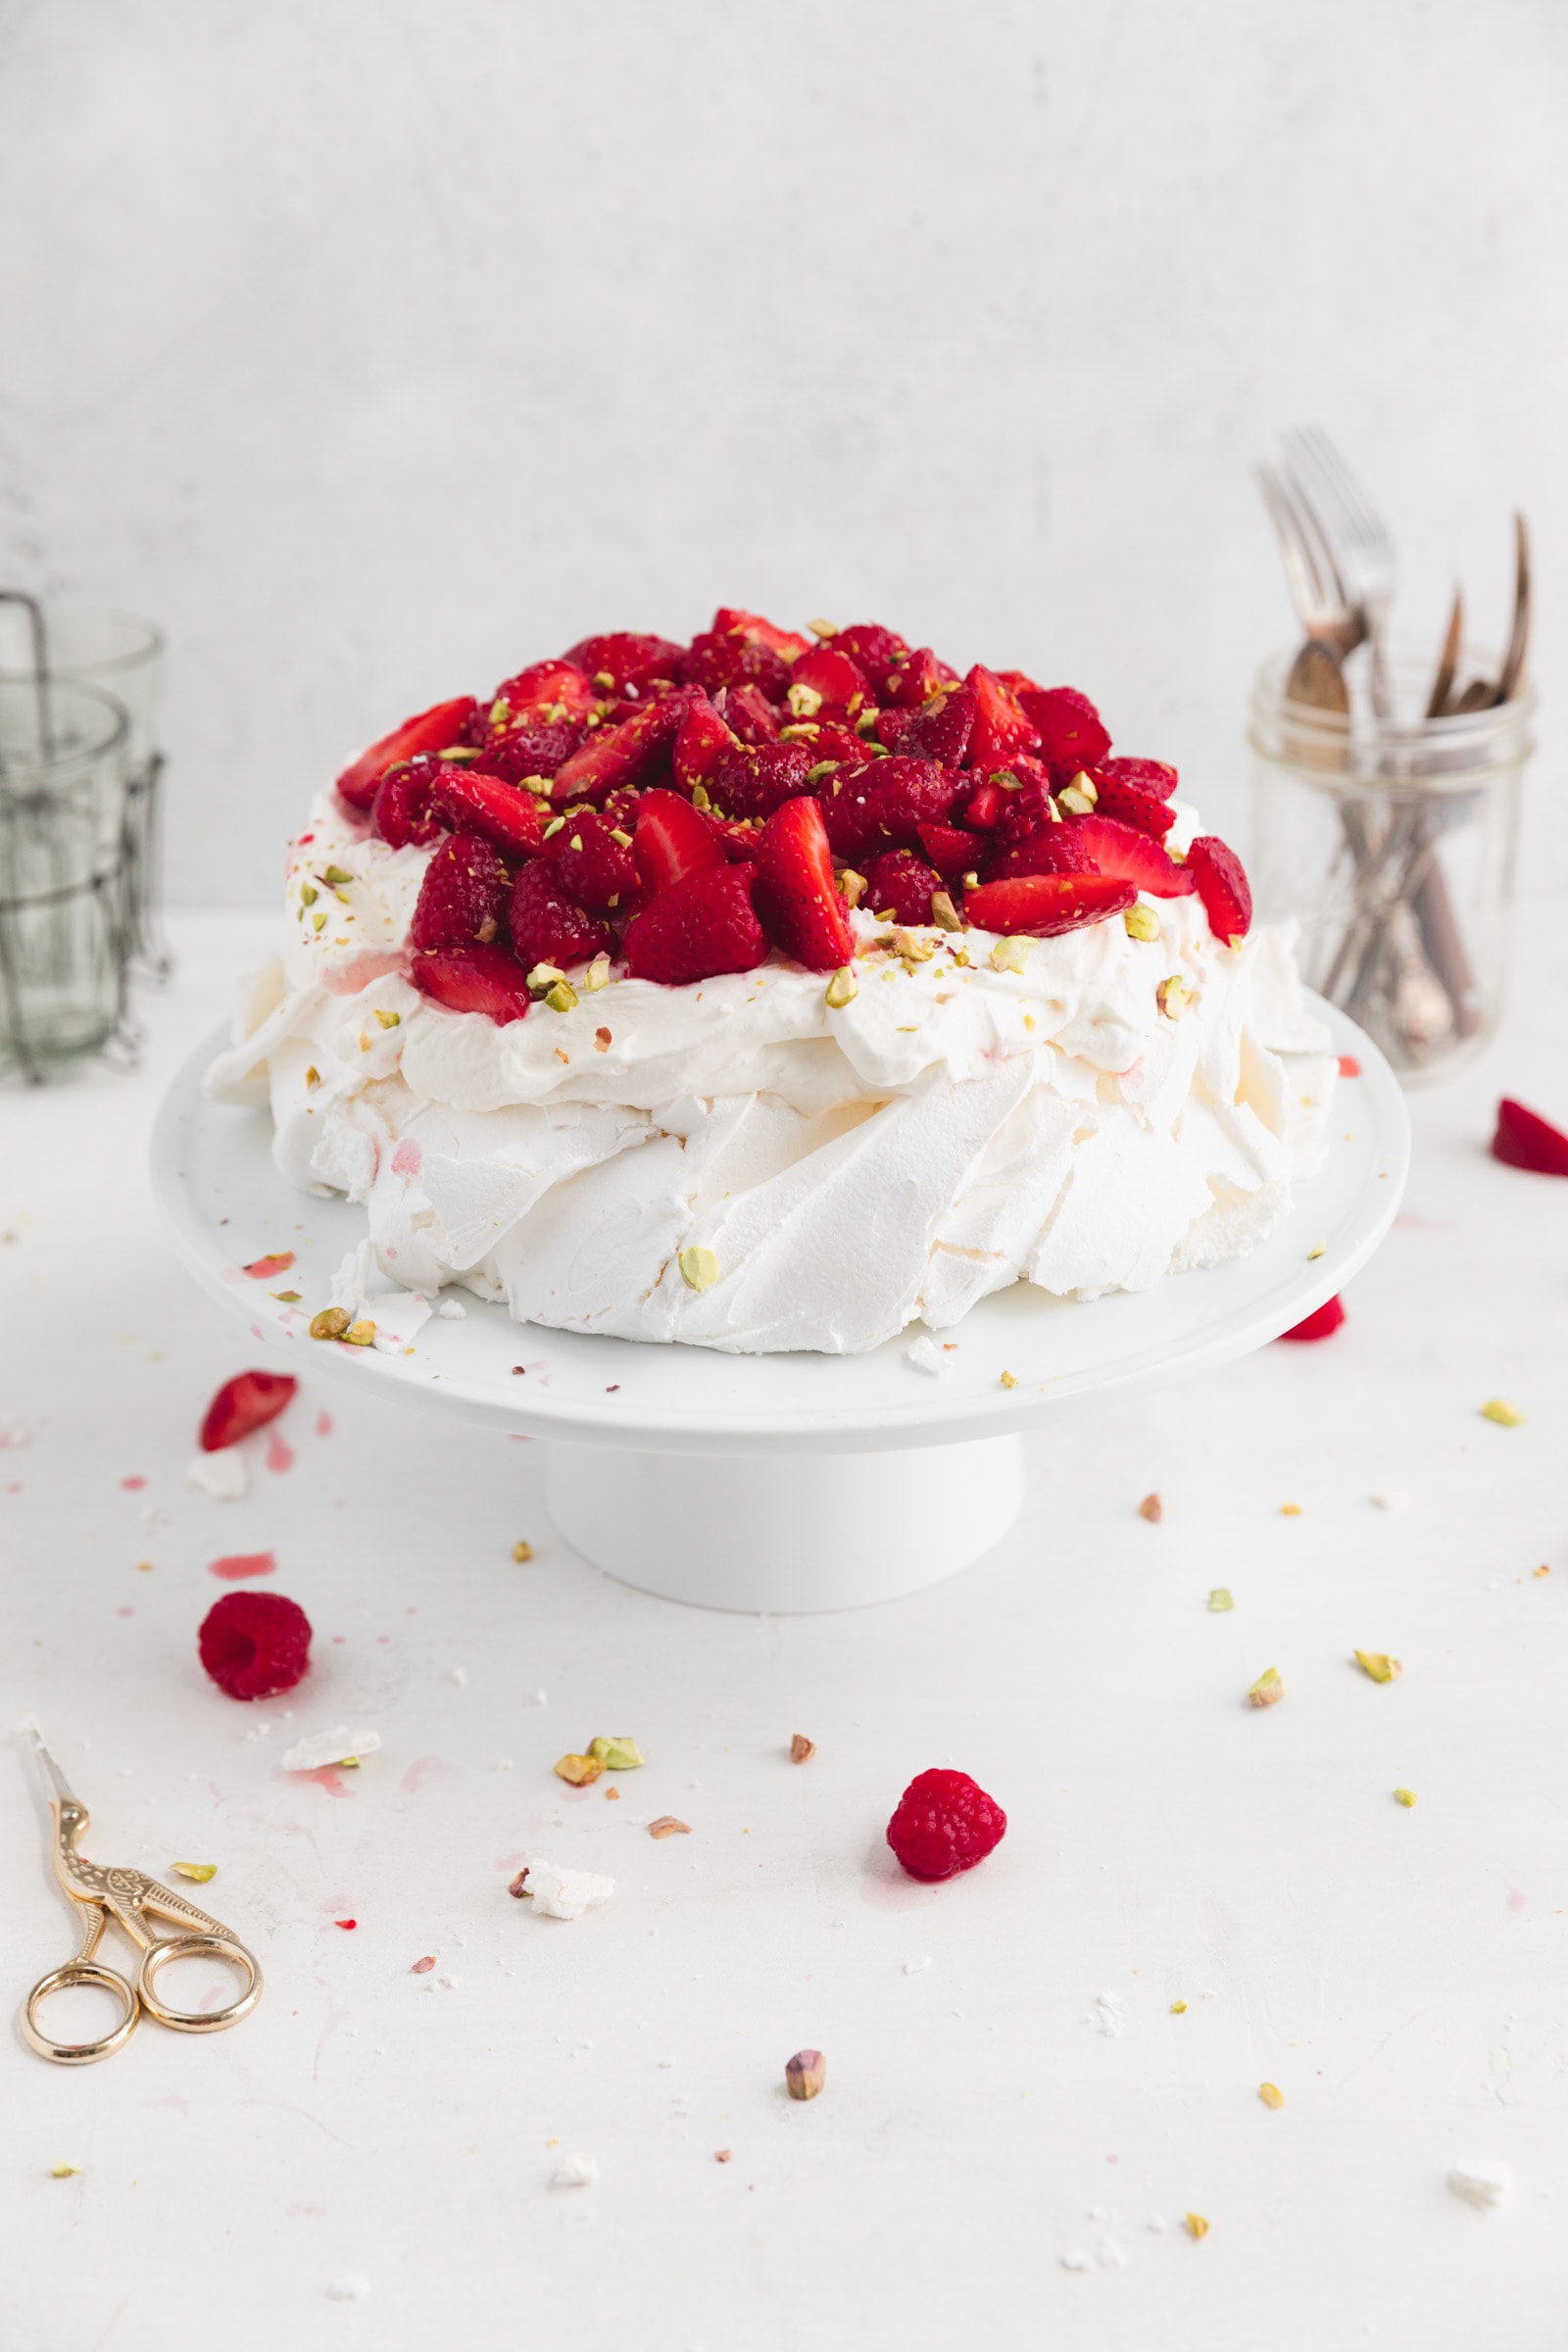
First of all, I would like to say that if you have never had pavlova, you are truly sorry. No, really. I’m not going to sugarcoat it. You’re really missing out. But all that can change starting today with this foolproof pavlova recipe. I imagine pavlova to be a feast of the gods and served by New York socialites at banquets. Actually, I don’t know. Although I have never been there, I can say that Pavlova is a classy woman. It’s a so-called “show stopper”, but let me tell you a secret. It’s actually very easy to make and only requires 5 ingredients.
What is pavlova?
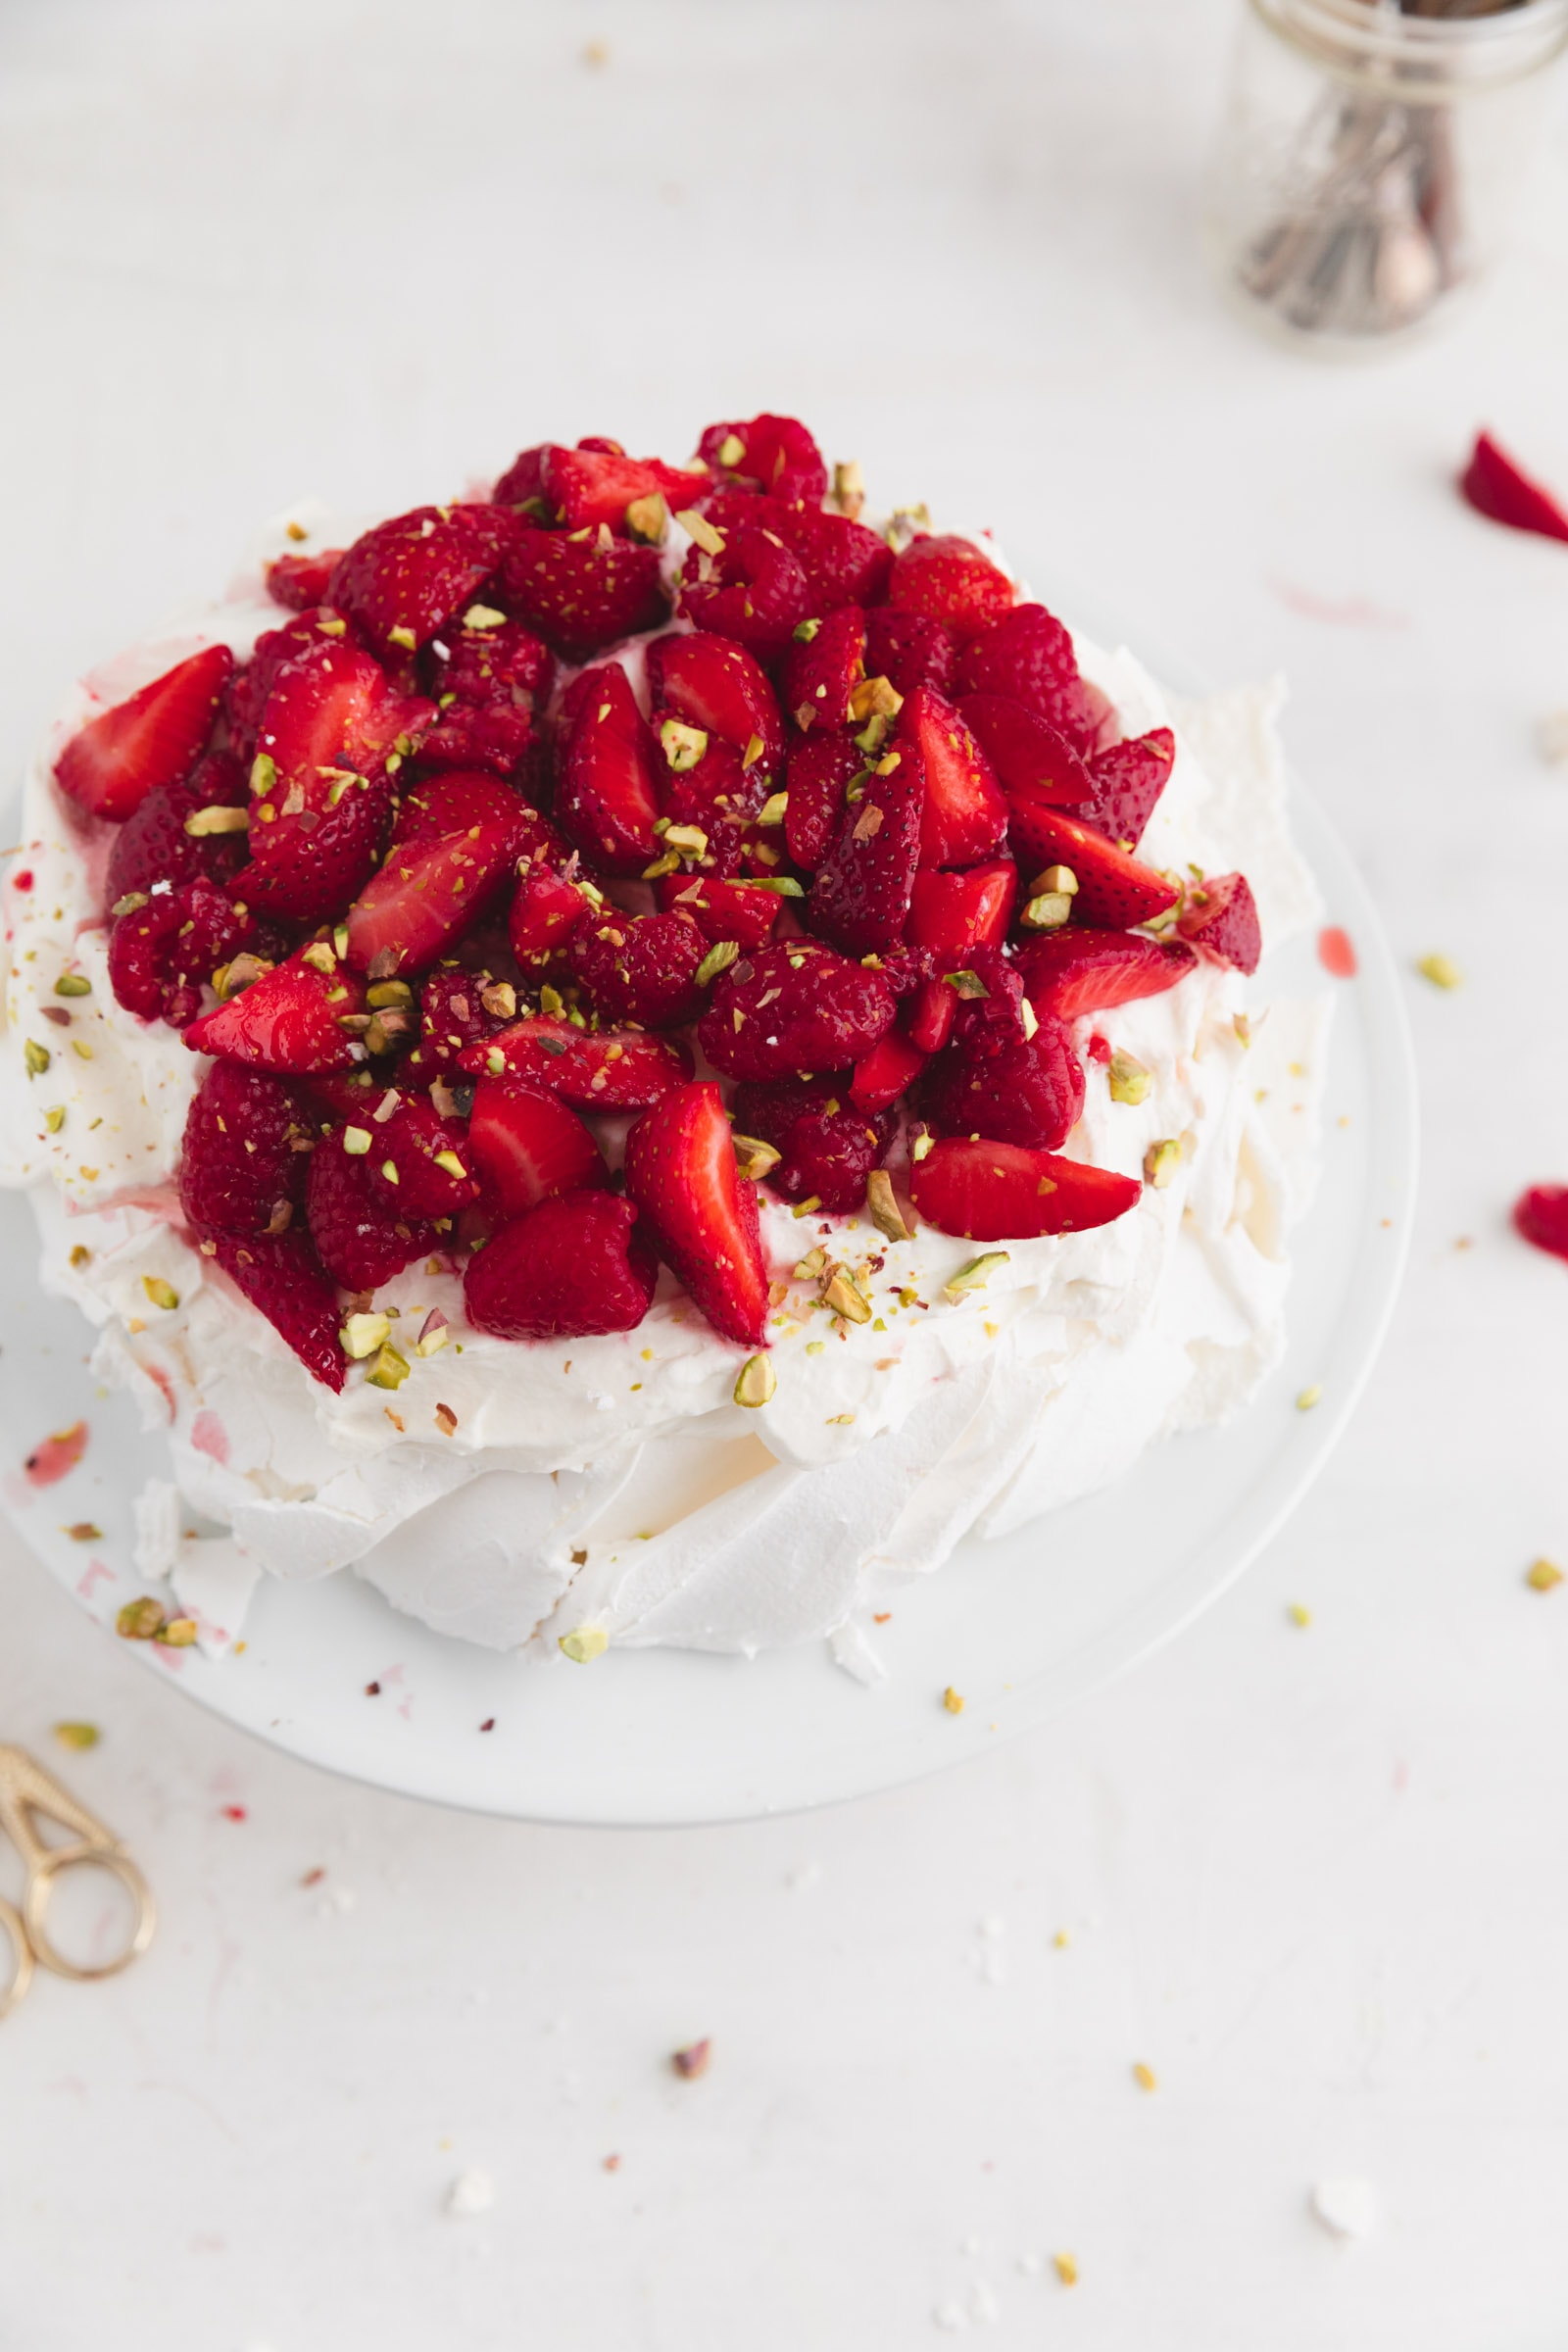
If you’ve never tried pavlova before, you might look at these photos and think, what the heck?! Pavlova, named after the famous Russian ballerina Anna Pavlova, is basically a meringue cake made from whipped egg whites and sugar. The outside is perfectly light and crispy, with just a hint of chewiness, and the center tastes like a light, airy marshmallow. Each light, sweet bite is an explosion of melt-in-your-mouth texture. It’s divine. Traditionally, it’s topped with whipped cream and fruit, but if you want to be extra indulgent, it can also be topped with lemon curd or jam. Pavlova is very popular in Australia and New Zealand, and is slowly making its way into American culture.
Plus, it’s naturally gluten-free (score) and is the perfect light and refreshing summer dessert to end your dinner party on a sweet note. But even though it’s traditionally a warm-weather dish, I say eat it year-round. I mean, look at this baby…why limit it to just three months of the year?
Pavlova ingredients
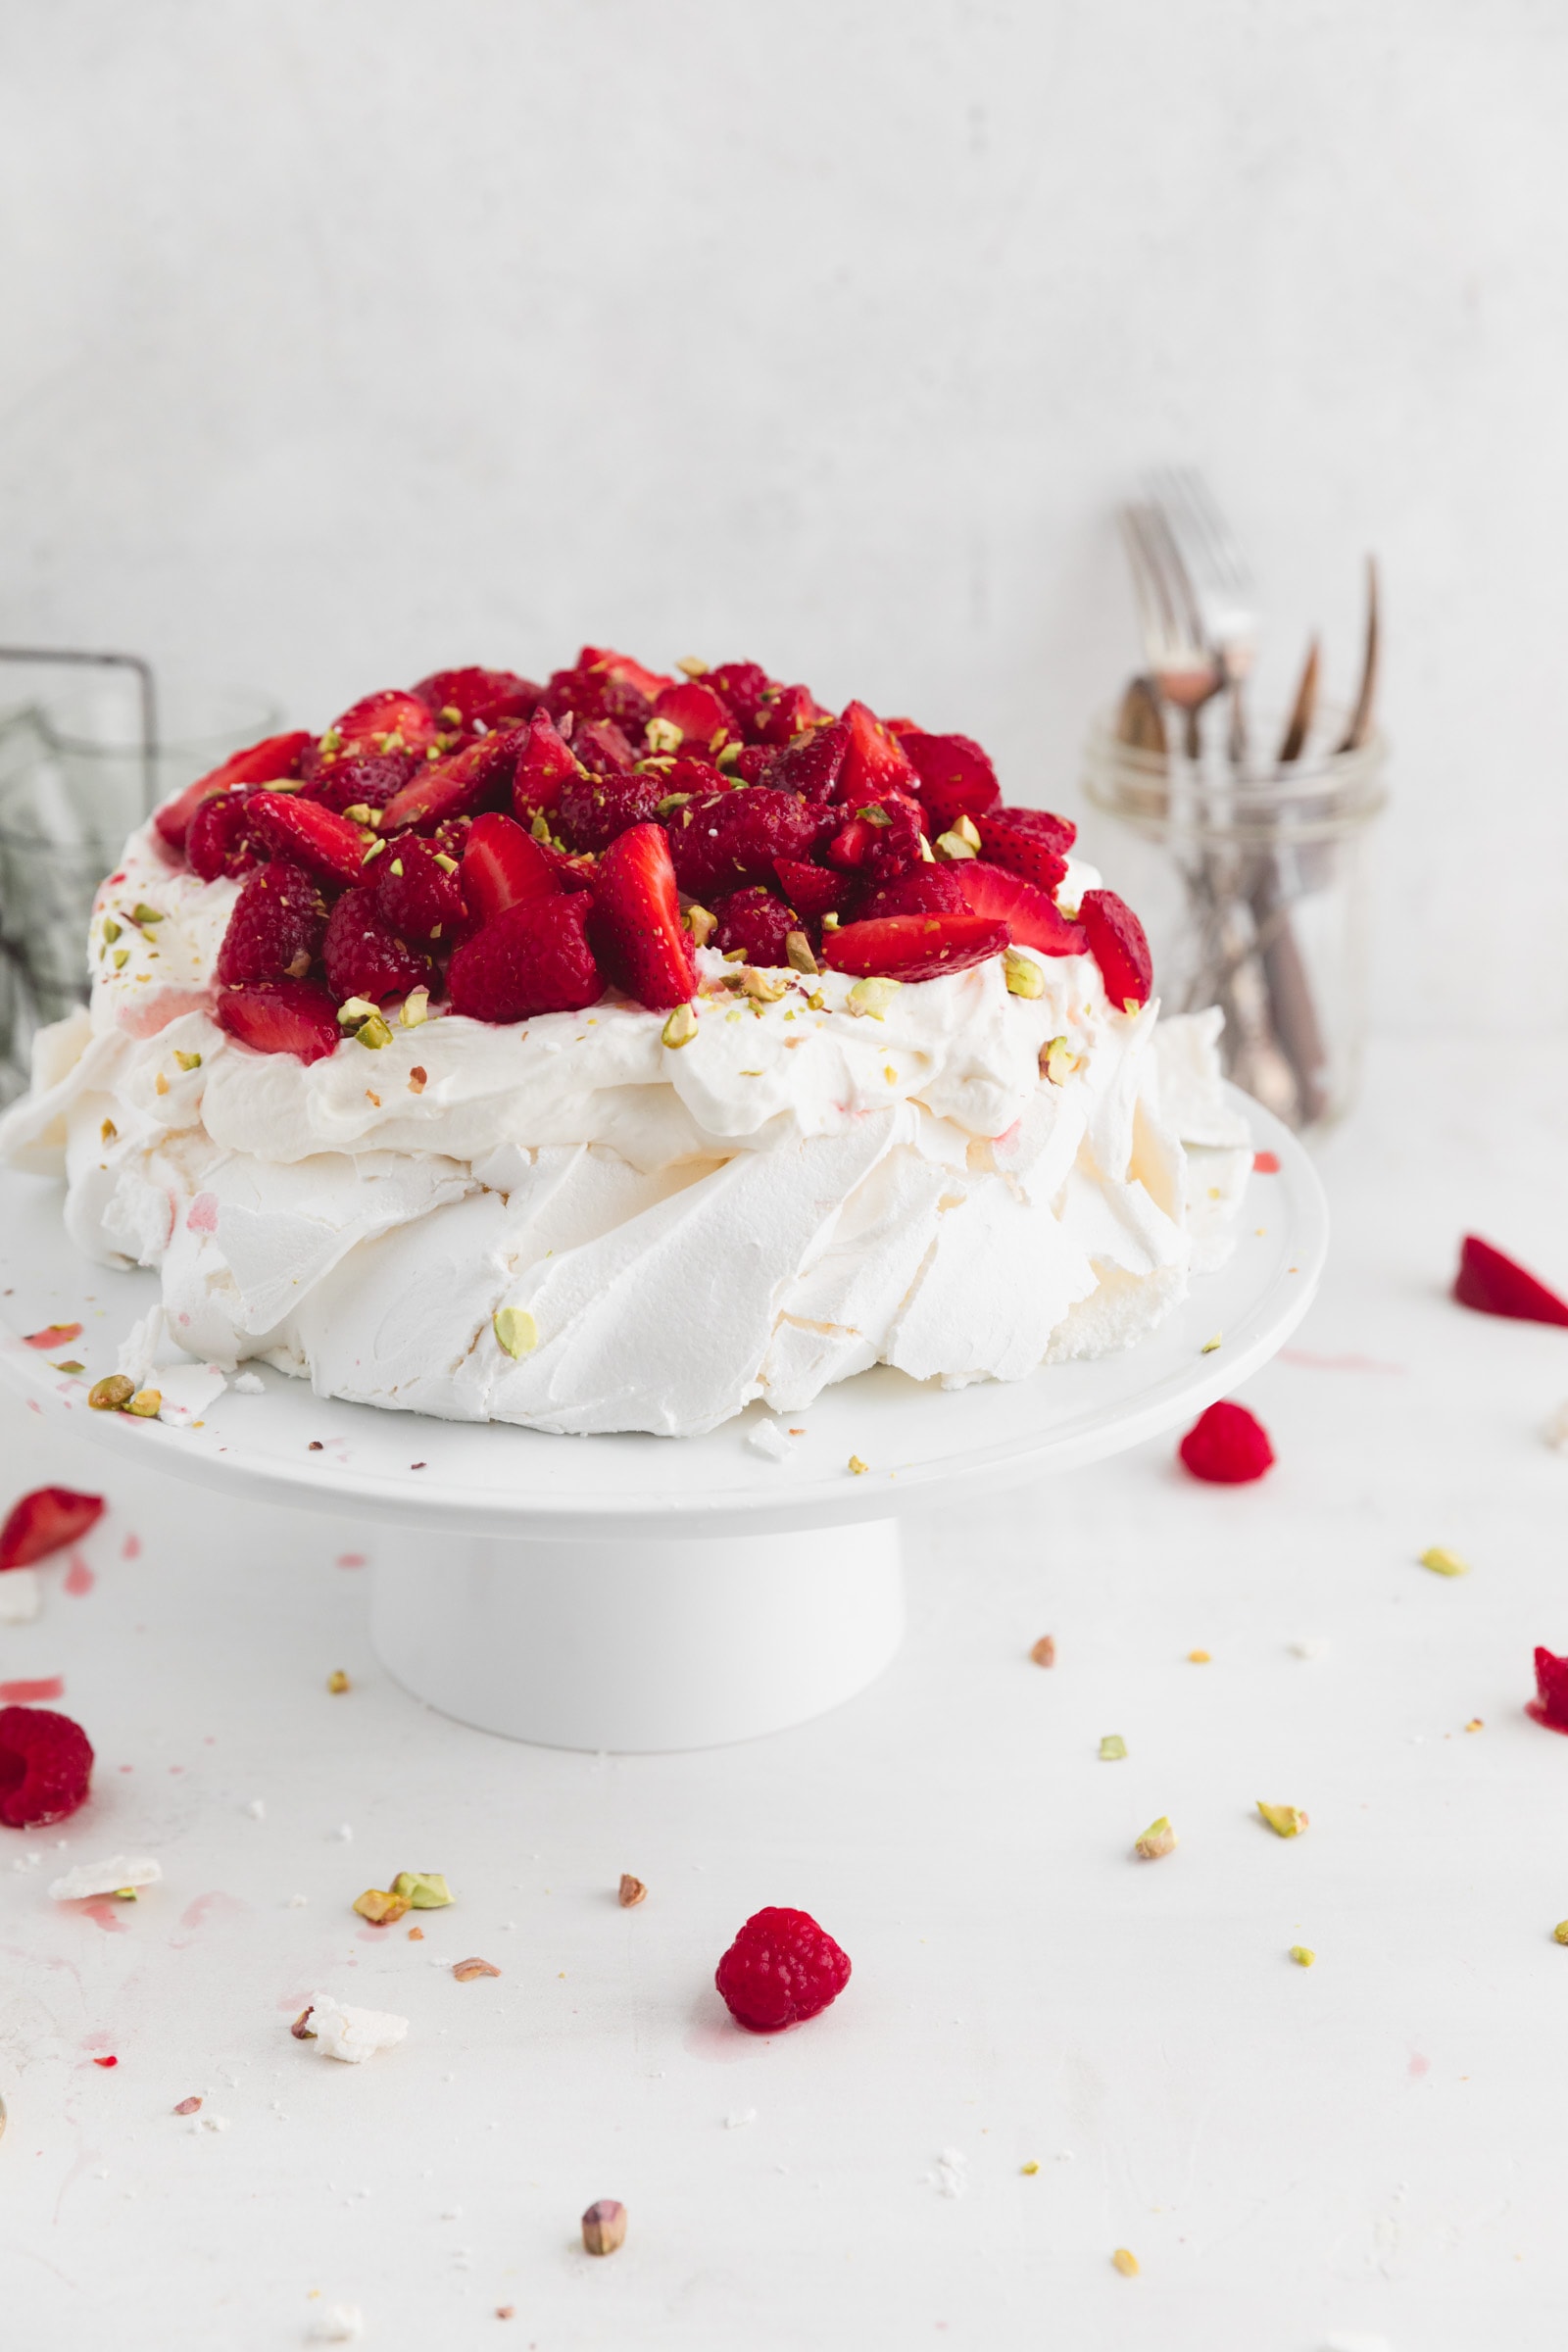
Pavlova is not a particularly difficult dessert to make, but it does require patience and care. You only need 5 ingredients, all of which you already have in your fridge or cupboard.
Egg whites: Like other meringues, stiffly whipped egg whites form the light, airy structure of pavlova. Granulated sugar: Sugar most importantly provides sweetness, but also aerates the egg whites, creating a beautiful crunchy appearance. That being said, you definitely want to avoid a grainy pavlova, so make sure to beat the dough long enough to remove any grains. Vinegar or lemon juice: The acidity helps maintain the structure of the egg whites and prevents them from disintegrating. I’ve tried this recipe with apple cider vinegar, white vinegar, and lemon, and they all work. Cornstarch: Cornstarch helps absorb excess liquid from the vinegar and slightly strengthens the structure of the egg whites to create a nice marshmallow-like center. Vanilla Extract: For a great dessert, you need high-quality vanilla extract.
In my opinion, the whipped cream and fruit toppings are a must, but what you choose to top your pavlova with is really up to you.
Pavlova topping
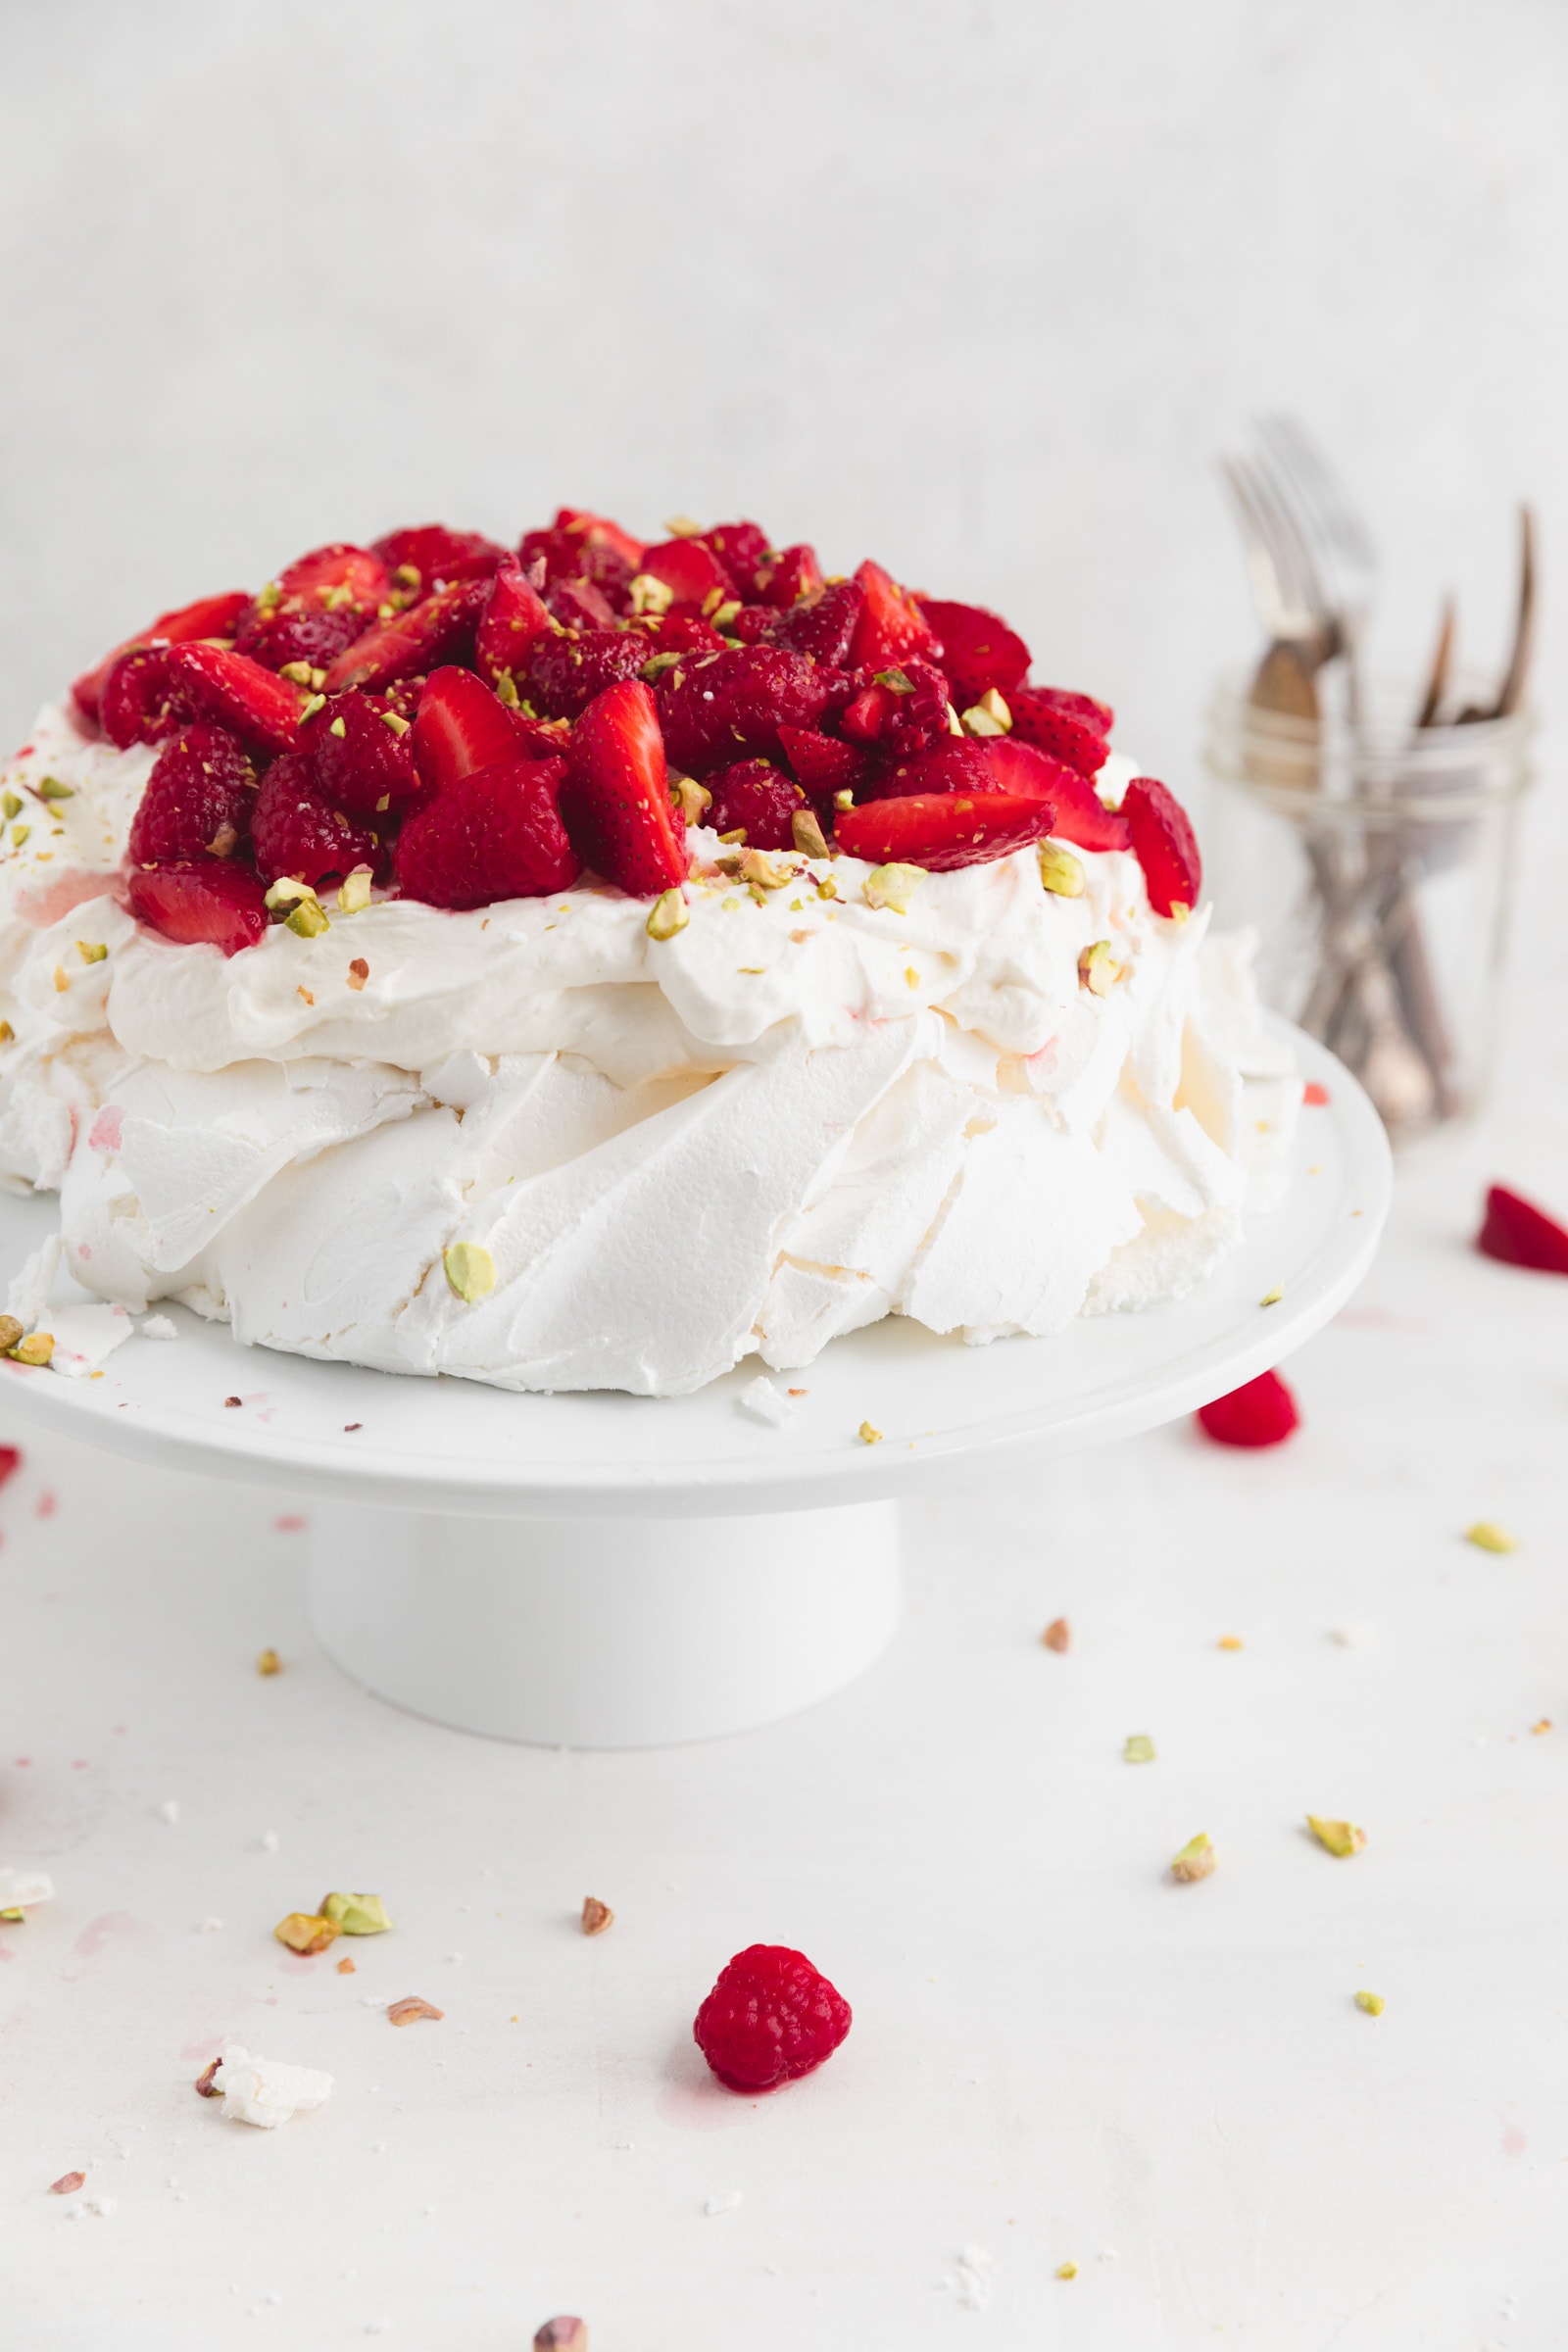
Pavlova can be topped with a variety of toppings. I love customizable desserts that you can enjoy with whatever you have on hand or what’s in season. My favorites are:
Tips for making the best pavlova
Sure, making a pavlova cake sounds like a lot of work. A few years ago, the mere thought of making homemade meringue would have terrified me. However, if you keep these few tips in mind, your pavlova will turn out beautifully.
Pulse the sugar: Grainy pavlova ruins the dreamy, marshmallow-like texture, so we always quickly pulse the sugar a few times in a food processor or blender to create finer granules. If you can’t do this, don’t worry. You may need to mix it a little longer to get rid of the granules, but it’s still delicious.
Whisk the eggs before adding the sugar. Meringue doesn’t use any leavening agents other than whipped egg whites, so you’ll need to whisk the egg whites well before adding any other ingredients. Whip the whites until soft peaks form and slowly add the sugar. Continue whisking the egg whites until stiff peaks form and no sugar granules remain.
Be patient: Pavlova is not a quick dessert. The ingredients are pantry staples, so it’s easy to mix together without much forethought, but it takes time to whisk the batter into the fluffiest, glossiest, sugar granule-free meringue, and then bake it slowly over low heat. It requires minimal effort, but a significant amount of waiting time.
Bake the meringue over low heat for a long time. To prevent the meringue from cracking, bake it on a low temperature for about an hour, then turn off the oven and leave the meringue in the warm oven for another hour. This will allow the meringue to dry completely and cool easily without falling apart.
Let pavlova cool completely before assembling. Before assembling the pavlova cake, you need to wait until the meringue has completely cooled. Warm meringue may not be stiff enough to form layers and the whipped cream may melt quickly.
How to shape a pavlova
We recommend baking the cake on a cookie sheet lined with parchment paper or a silpat. You shouldn’t make meringue on a greased surface because you need a little something to grab the egg whites and hold their structure. We recommend tracing the size and shape you want your pavlova to be. You can use an 8-inch cake pan to make a large pavlova, or you can always make about 6-8 mini pavlovas if you prefer. Tracing the shape will give you guidelines to follow regarding size, but feel free to have fun. Once you’ve shaped the dough into a round, be sure to make a well in the center (like a very shallow volcano) and a slightly shallower hole for stacking your toppings.
How do I know when the pavlova is done?
I’ve always found meringue difficult for this reason. Most desserts require a knife or a light poke in the middle, but pavlova is very delicate. Just keep the knife away 🙂 It’s a tricky balance between the sweet spot of gooey marshmallow center and crispy edges. You never want your pavlova to turn brown or darken in color (if that’s the case, your oven may be too hot). So I cook it for a long time on a low temperature and let it cool in the oven for another hour to make sure it’s set enough. Cooling it in the oven will limit temperature fluctuations and also prevent cracking (hopefully!)
Why does pavlova crack?
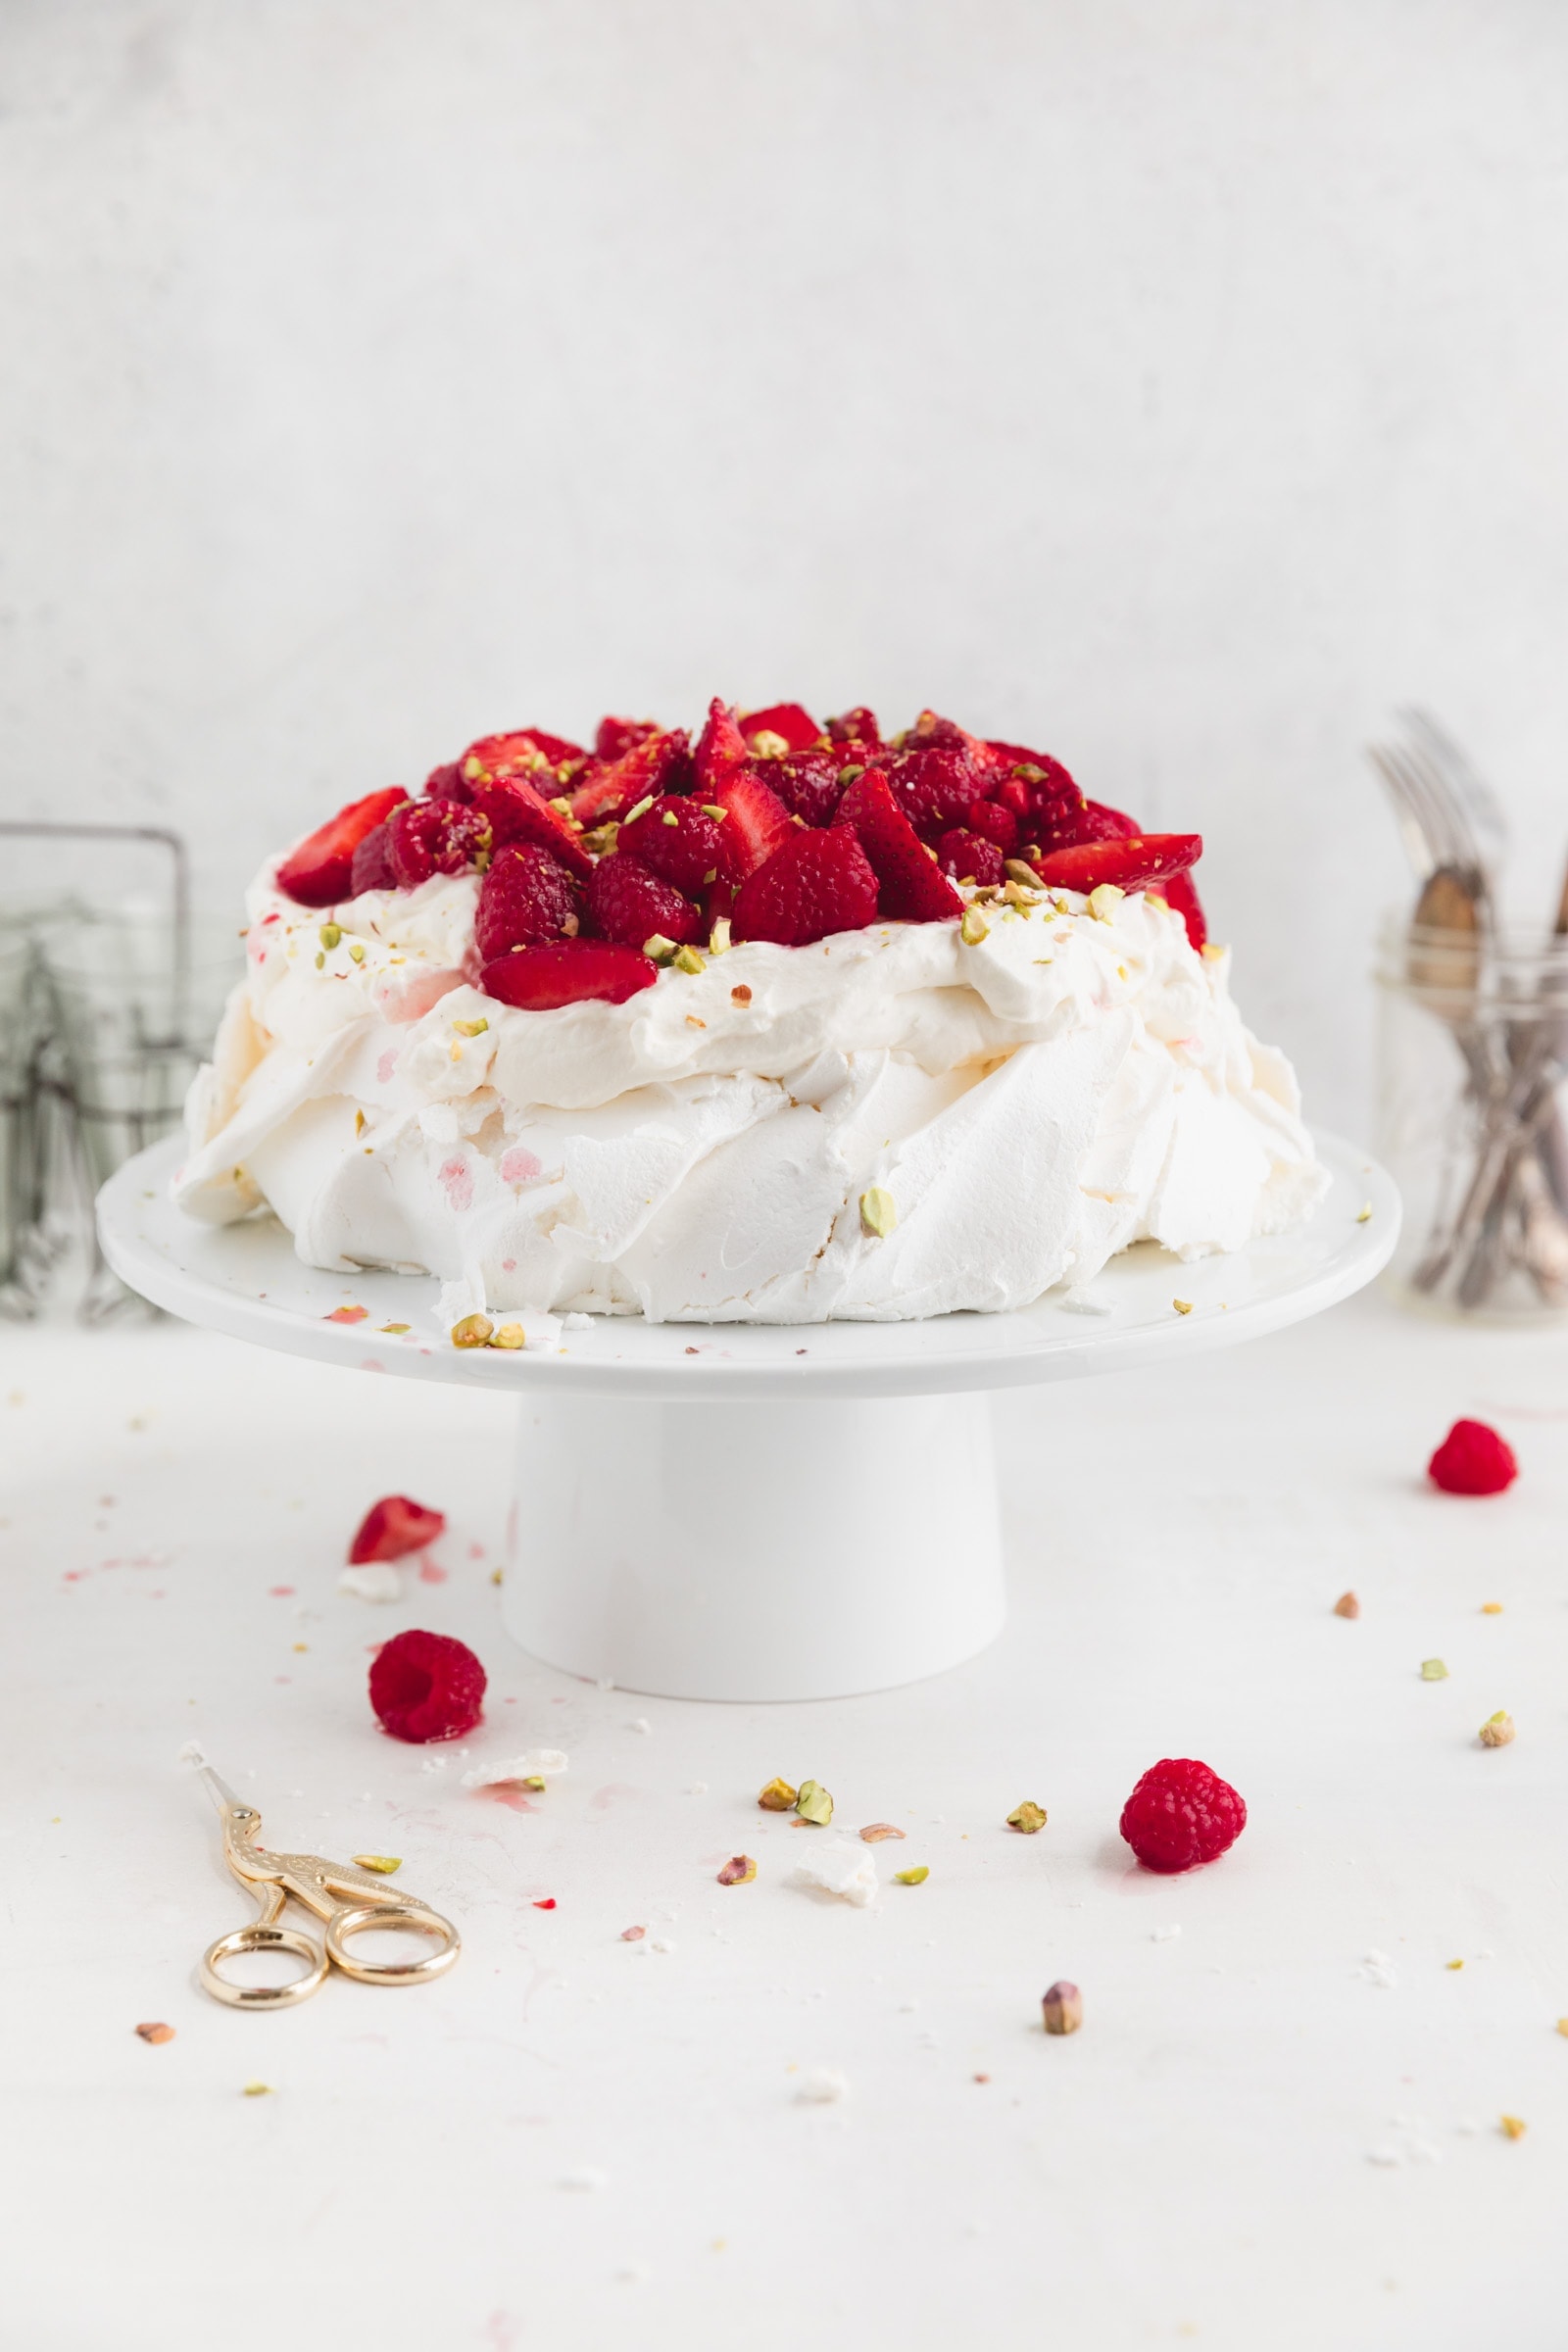
With a meringue this big, cracks are inevitable, so be careful not to sweat. Unfortunately, air bubbles, rapid temperature changes, and oven complexity can all cause cracks. However, there are a few things I’ve found to help prevent cracks.
Make sure the sugar is completely dissolved in the pavlova before baking. Sugar granules not only create a grainy pavlova, but they can also create air bubbles and cause cracks. Here’s what you need to know about ovens: If there’s one thing I wish was more common knowledge, it’s that ovens are very fickle and change a lot. If you know your oven tends to run hot or cold, adjust the temperature accordingly. If the temperature is too high, the pavlova may expand and crack. If your oven has a fan to distribute the heat, bake the pavlova at 180°F instead of 200°F. If possible, turn off the fan to prevent uneven heating and interference. Be careful not to open the oven while the pavlova is cooking. I know it takes a long time to reach its peak, but it’s best to leave it as it is, as changes in temperature will cause it to crack.
In other words, stop crying over your cracked pavlova. Everything will be just as great and just as beautiful, even if there are some cracks.
Enjoy baking, friends!
XX
for pavlova
1 teaspoon vinegar*
1 1/2 tsp cornstarch
6 large egg white (room temperature)
1 1/2 cup granulated sugar
2 teaspoons vanilla essence
1/4 teaspoon salt
for topping
1 1/2 cup thick whipped cream
1/4 cup confectionery sugar
1 cup fresh fruitsliced
1/4 cup chopped nuts
Instructions
Preheat the oven to 200°F and position the rack at the bottom of the oven. Use a pencil to outline an 8-inch cake pan on a cookie sheet. Place the paper upside down on the cookie tray. Let’s set it aside. Combine vinegar and cornstarch in a small bowl and whisk to combine. Let’s set it aside. In a stand mixer fitted with the whisk attachment, beat the egg whites on low speed until foamy, small foam forms. Continue whisking, gradually increasing speed to medium and whipping until egg whites form soft peaks. Gradually begin to mix in the granulated sugar, adding it little by little (that is, don’t add the sugar in batches!) until stiff peaks form and the sugar is almost completely dissolved. * Add cornstarch and vinegar mixture, vanilla extract and salt. Beat on high speed for 4 to 5 minutes, until meringue is stiff, glossy, and no sugar granules remain. Spoon the meringue onto the parchment paper and use a cake scraper to shape the meringue into a tall cylinder inside the 8-inch circle you drew earlier in the cake pan. Use a cake scraper to make a slight indentation in the center of the meringue, similar to the center of a volcano. Finally, use a scraper or large spoon to shape the sides into your desired design. Bake in the oven for 1 hour and 30 minutes, then turn off the heat, slightly open the oven door, and leave the meringue in the oven for another hour. This is the time for the meringue to dry completely. Then remove from the oven and let cool completely on a wire rack. While the meringue is cooling, whip up the topping! In a stand mixer fitted with a whisk attachment, whip the cream and sugar until soft peaks form. Spread over meringue and top with fresh fruit or nuts if desired.
Precautions
Apple cider, white vinegar, or lemon juice work well. You can tell if the sugar has melted by looking at it or by simply taking a small amount of meringue between your fingers and rubbing it together to feel it.
